
Previously on The Hardy Boys: The Hidden Theft: Our culprit conveniently left a business card with his name and address while getting a haircut, so off we go to New York City to investigate.

We’ve now unlocked Siepp’s business, the Masquerade Emporium in Manhattan, as a new location. Also, in this game, Bayport appears to be somewhere on Long Island. Aw, I was hoping we were in New Jersey and we’d have to take the PATH to get to New York. I would feel so seen.
(Also-also, bizarrely, the address of the shop is given as “460 Solvang Blvd.” The only Solvang I’ve ever heard of in my life is that Danish town in California.) (I went there to do my mission project on Mission Santa Ynez when I was like ten and ate my weight in æbleskiver. Good times.)

We teleport over to NYC and arrive at night. Frank and Joe pose as two reporters from the “New York Review”, doing a story on the shop. The cashier (“Val”) immediately pokes a hole in their story when they fail to recognize a famous critic who writes for the Review (they think “Nat Florenti” is a man, but she’s actually a woman named Natalie. That’s what you get for being sexist, Hardys!). I can’t believe Frank and Joe rocked up to a costume shop in New York with this cover story and didn’t prepare for the eventuality that the employee would be a total theater kid who religiously reads the Arts section. I was about to say “Nancy would never,” but it occurs to me that honestly, this exact same thing would probably happen to her.
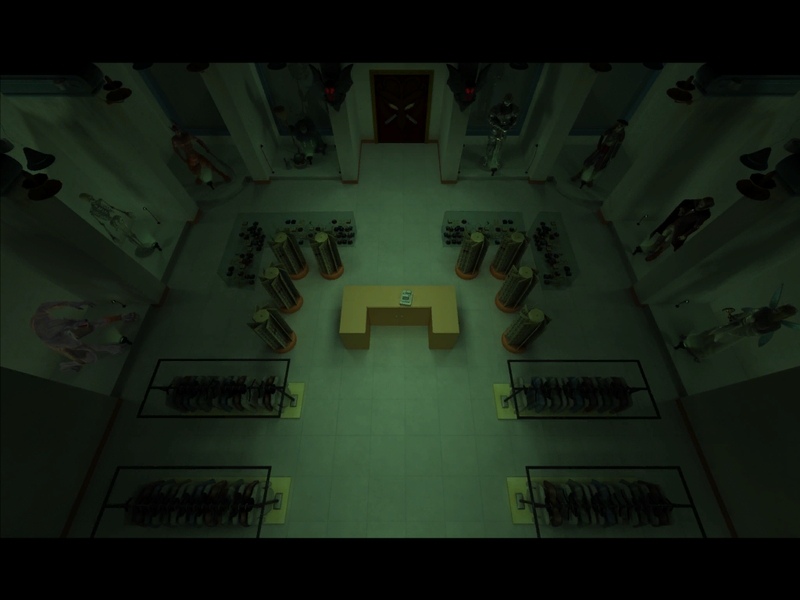
Anyway, Val doesn’t kick Frank and Joe out, and instead says he can introduce them to Dougal Siepp once they do a few chores for him. Of course. The shop is all in disarray since a group of “younglings” were in here earlier being killed by Anakin Skywalker messing around. There are several mannequins whose props have been misplaced, and we need to find their props, then put them back with the correct mannequin.


So we wander around the store, finding the different props and putting them back. Most of them are scattered around the mannequins, although a few are in different parts of the store, like the back room above. The puzzle is fairly straightforward (there’s a witch hat that goes with the witch mannequin, a bone that goes on a skeleton, etc), but there’s also a catalog showing the completed costumes if you need help. Eerie music plays while we walk around the empty, dark shop, while Val just sort of lurks at the cash register and watches us. It’s all quite effectively creepy, although it also feels kind of desolate in a way that comes more from the game’s janky graphics and bizarro dialogue than any intentional atmosphere.

Having done that, we go back to Val, who tells us that it’s now time for our next chore! Frank and Joe are like, “But, but, we’re reporters! For the New York Review!” (Well, maybe remove the exclamation points, because that implies there’s enthusiasm in the voice acting and there very much isn’t.) “I very much doubt you could write your own names,” Val snarks. HEE! Nevertheless, he still agrees to let them see Dougal Siepp if they finish his chores for him.
So our next task is to rotate the gondolas in front of each mannequin, until the correct accessories for each costume are facing us. (Doesn’t this mean that the accessories are facing away from their matching mannequin? Whatever. I won’t tell Dougal Siepp how to run his masquerade emporium.) It’s a little less straightforward than the prop puzzle (the pirate’s accessories are potion bottles, for some reason), but the accessories are also shown in the costume catalog. Going back and looking at it will reset the puzzle, annoyingly, so it’s worth writing down or trying to memorize the solution first.
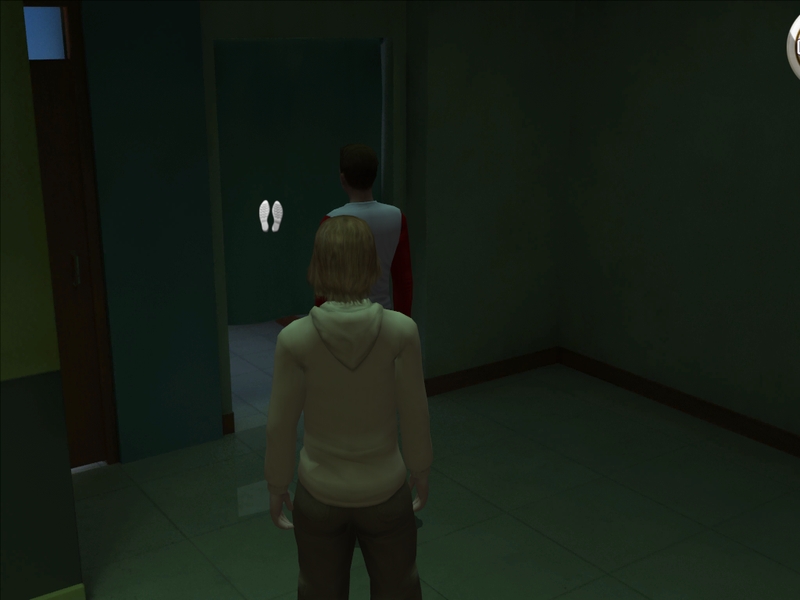
Once we’re done with the puzzle, Val says he’ll bring us to Siepp and tells us to wait in the back room. Sounds good, thanks Val! So we go off to the back room…
Aaand Val promptly leaves and locks us in. Rude! So rude! Being locked in a room with the Hardys is my actual nightmare!

Hm, well, what should we do? Is it time to call our dad? Or maybe the fire department to break down the door?
Nah, let’s call Nancy. I mean, if anything, this has happened to her a million times, so she should be able to tell us how to get out of this.
“Hey, Nancy, it’s your favorite sibling sleuths,” Frank tries to smooth. Nancy: “The Osmonds?” HEE. Nancy asks if we need help, but as it turns out, there’s nothing else to talk to her about. Okay, I guess we’re on our own here.
So in front of us is a locked door leading to a staircase, which we clearly want to go up. When we inspect the keyhole, we see that we need a chess piece to open the door. As you do.

Now, there is a chess piece in this very room, under this bishop(?) (Jesus I’m a terrible Catholic) hat. However, it is not the right piece to unlock the door! Tricksy.

Instead, we want to go outside to the knight costume, and stick the chess piece in his arm. A panel will open up in his armor, revealing the actual piece that opens the door.
Before we go upstairs, we also need to grab a piece of packing paper off the floor in the back room.
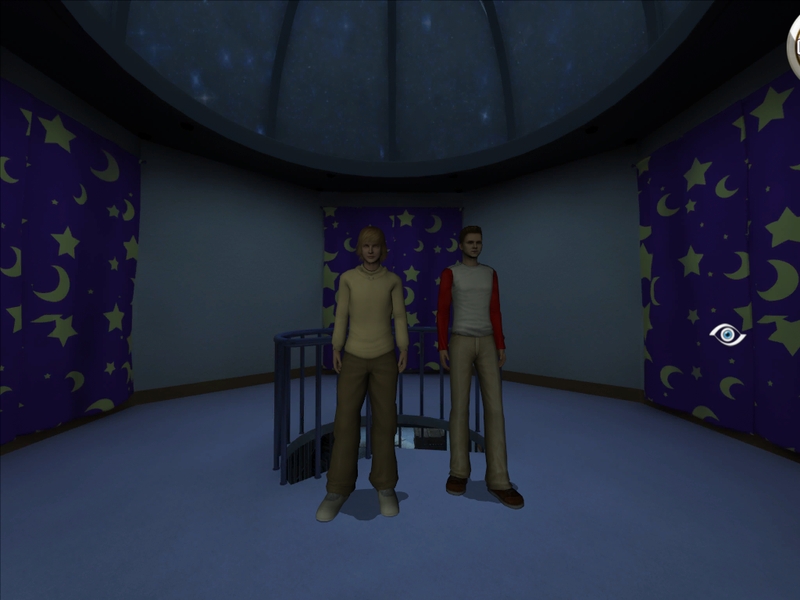


Upstairs, we find this room, which contains a puzzle because of course it does. Behind one of the curtains is a blank wall; behind the other two are a mysterious poem and a weird analog machine.

When you click on the machine, you see this screen. Futzing around with it will reveal that we can draw lines connecting the various dots, but of course we don’t know yet how to connect them.

There’s also a bookshelf, from which we can steal a greasepaint crayon as well as pick up a book about constellations. Frank makes a crack about people taking astrology too seriously and once again I am horrified to find myself agreeing with him. Who am I???
So clearly, we need to link the dots on the machine in such a way that it recreates the constellation designs. I figured this out without even needing a walkthrough and felt like a sleuthing expert. The tricksy bit is that the book contains a bunch of constellations that we don’t need to know — we only need to recreate the four that are mentioned in the poem, which are not mentioned by name, so we have to figure their names out from the hints. (E.g. the “scuttling scourge of Hercules” is Cancer the crab.) The designs we want are Cancer, Scorpius, Cassiopeia, and Andromeda. We can copy the constellation designs using the crayon and the packing paper we picked up. Then we just overlay them on the machine and trace them.
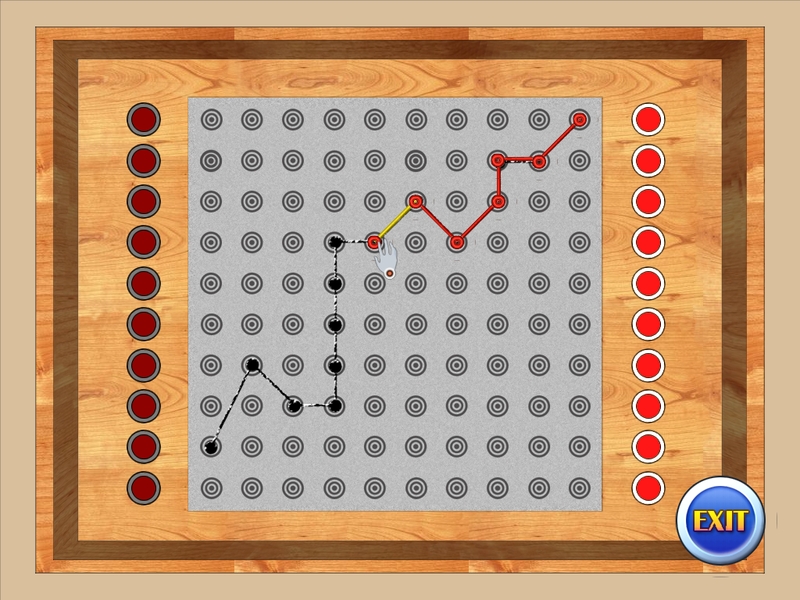
I’m trying to figure out whether I think the game should’ve made us memorize the constellation designs, instead of using the packing paper. Like, on the one hand, I’m terrible at puzzles and if this one was any harder, I would’ve fully cheated my way through it like I always do. On the other hand, I don’t think it would’ve been impossible for the player to figure out how to accurately space the drawing on their own, and that’s the kind of logic puzzle that these types of games run on. Oh, well.

Every time you complete a constellation, it will light up on the ceiling, which is really pretty and one of the better designs in the game.
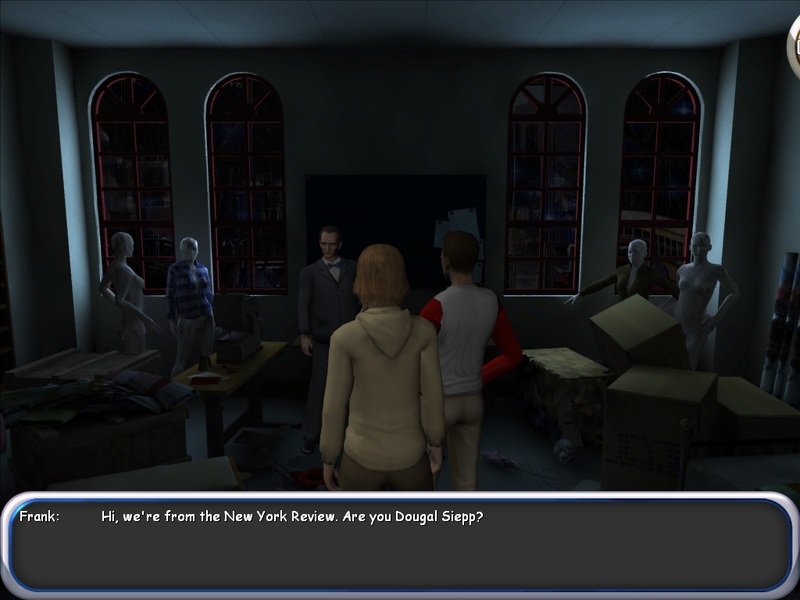
When we’ve completed the puzzle, the blank wall will open, and we’ll meet Dougal Siepp in his office behind it. So…does he just, like, live here then?
Hilariously, Frank and Joe still try to keep up their theater critic ruse, but Dougal Siepp is like, “I’m even more camp and pretentious than Val, don’t try me.” Weirdly, he already knows everything about the Hardys and why they’re here — he claims we’ve been “misled” by the Bayport police into thinking he’s the culprit, and we’re like, “Hey now, we were misled entirely on our own, Officer Riley didn’t do shit.”
The Hardys are like, “J’accuse, we found your hair at the scene of the crime!” and Siepp snips that technically, the nurses’ station isn’t actually the scene of the crime. By the way, are we going to ask him if he’s visited Spencer Mansion recently? Frank: “Oh — er, have you?” Hee. Siepp confirms that he was at the mansion, but that doesn’t mean he was anywhere near the safe or is the culprit. He then makes a bunch of needling, sly comments about how the Hardys don’t know how the half of what they’re investigating, and Siepp totally does, although he’s not going to tell them what’s going on.
Anyway, the Hardys debate whether they should call the police, but they don’t have a signal, so maybe one of them should wait here while the other goes outside, or maybe they should just take Dougal Siepp out with their mad martial arts skillz, until eventually he has to cut their discussion off. Heh. They’re so lame.
Siepp leaves us with two clues: he claims that the man we’re actually looking for is one Richard Llewellyn, who we know is sketchy because he has some “unbecoming tattoos.” Siepp claims we can find ol’ Tricky Dick at the Crescent Theater. His second clue is only the phrase, “It’s about time.” Frank’s like, “I don’t get it.” Siepp says it doesn’t make sense now, but it will eventually: “This whole affair is bigger than you imagine. It is a play, and you are only seeing the last act. I’m sooooo ambiguously camp!” Maybe not that last part. The Hardys agree to check out this Richard Llewellyn guy, but threaten that if Siepp does turn out to be the culprit, they’ll be back “with the full force of the law on our side!” They’re such dorks.
By the way, if you ask Siepp about the hair clue first, you lose the option to ask him about his blood type. If you do manage to ask him about that, he’ll just be vague and pretentious again about how only a dumbass would commit a crime when they have such a rare blood type; on the other hand, perhaps the culprit is too desperate to care.
Siepp is related to the culprit and that’s why they have the same blood type. I don’t feel bad about telling you this now because A) it’s really obvious, B) it’s kind of given away in the chapter title, too, and C) it’s going to get revealed in like five minutes anyway.

Also, you can’t see it in the actual scene, but Siepp also gives us this puzzle box. We don’t know how to open it yet, of course.
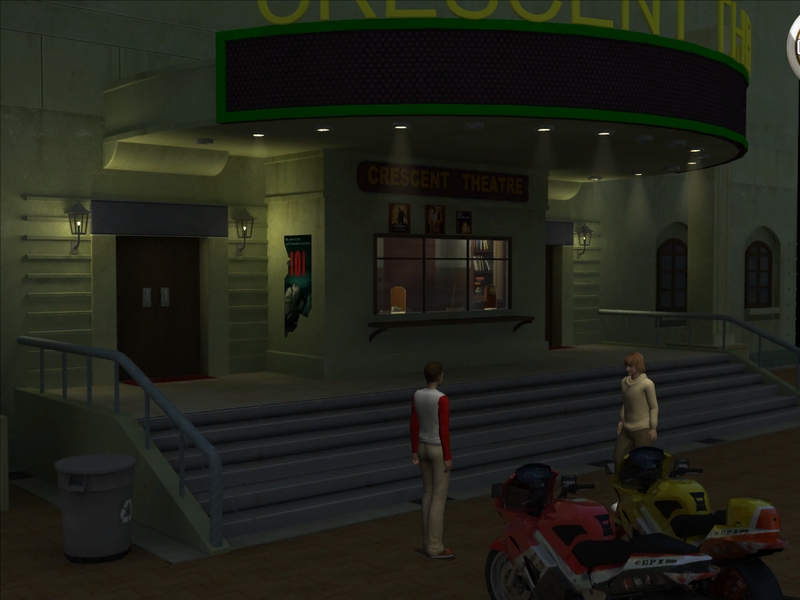
So our next stop is the Crescent Theater. Jeez, what time is it supposed to be? It’s gotta be past the Hardys’ bedtime. Bayport is grayed out if you click on the map, though, so I guess we’re stuck in NYC for now.

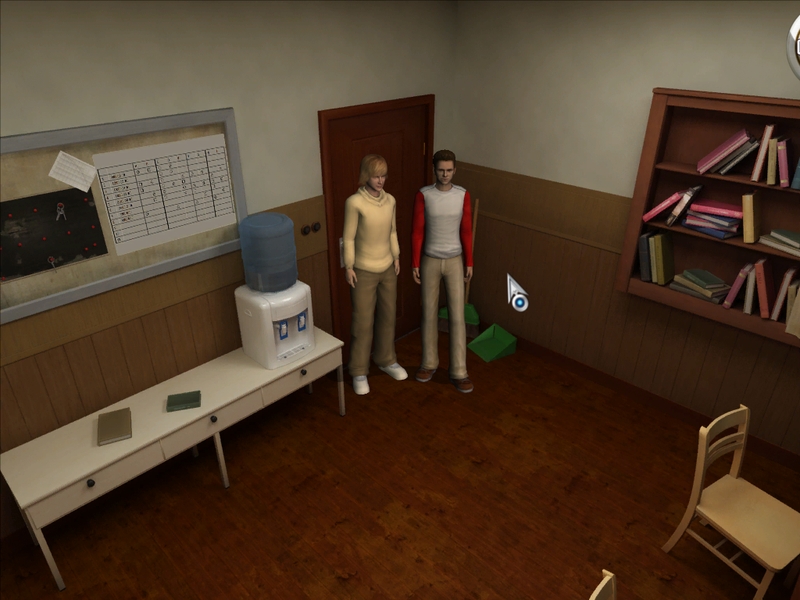
The theater is also quite empty and eerie; we can poke around the rooms and steal a key from the blackboard in the office.


The key opens a door backstage to the top-floor balcony, where we find the control panel for the lights and sound. We can’t do anything with it yet, though.
Poking around backstage, we finally come across another human being; one Harold Morley, an actor in the theater’s current production, Hamlet’s Twin Brother. Sounds like a masterpiece. We try our New York Review aliases out again and this time we manage to be like, “Haha, yes, we totally know Natalie the critic!” Of course, this doesn’t help us at all, since it turns out that Harold hates Natalie for writing a scathing review in which she implied he has bad breath. “Never again will I allow her to sully the audience with her clean teeth and dirty opinions!” Indeed. Still, he doesn’t kick us out — he just insists that he’s still rehearsing (despite being the only person in the theater). He’ll only talk to us after he’s gone over his part — and in order to do that, he needs his cue to be set on stage. Alright, so we’ll have to do that for him.
So first we want to dip into one of the other dressing rooms, where we’ll find a copy of the script. There’s several pages of intentionally bad dialogue, wherein Hamlet’s father says phrases like “FYI” and “totally”, ha ha, it’s funny because that’s not how people talked in the 1500s, get it? At the end of it, we can see the lighting and sound cues necessary for Harold to come in.

So we want to first go to a player piano onstage, which has a box of music rolls on it. We want to grab them and go through the rolls until we find the “Spooky” roll, then load it onto the piano and play it. Then we go back to the room with the blue couches, where we need to flip a switch on the fusebox which will turn…something…on.

Like so.

Then we mess about with the control panel to set up the rest of the stage. We want to press the button to set the moon to “full” and the lighting to “spooky”, then press the “clock tower” button three times to set the sound effect off.

Howard ambles out, delivers a line of terrible dialogue, haha very amusing, then shuffles off backstage. And that’s it. Okay, whatever, if he wants to open himself up to Natalie Florenti’s poison pen, that’s none of our business.

We can now talk to Harold, so let’s go backstage. We come clean to him about not really being theater critics — in fact, we’re boy detectives from Bayport! “Never heard of it,” Harold snipes. Ha ha, big city people are so rude and dismissive, amirite? He also weirdly refuses to believe the Hardys aren’t cops — because if there’s one way you can expect cops to dress, it’s like a sk8er boi from 2007 — and asks, “Which one is the wisecracking nonconformist and which one is the ‘play-by-the-rules’ ladder-climber with the heart of gold?” Heh. Admittedly, that’s not a totally inaccurate read of the Hardys. (I guess Frank is a ladder climber if you count him trying to sleep his way to the top of the detective game via Nancy Drew.)
Anyway, we ask him if he knows Dougal Siepp and he’s like, “Of course I have, I went to school with his son, Richard Llewellyn.” Well, that’s a revelation! To the Hardys, not to me. I figured that out like ten paragraphs ago. They can’t speak to Richard, though, as he was just hit by a car this very night and is in the hospital.

So we go to the hospital. Seriously, guys, isn’t it like midnight by now? I’m in my thirties, I can’t be out this late anymore. I want to put on pants with an elasticized waistband and have some tea in bed 🙁
(yes I’m in my thirties and I’m writing Hardy Boys recaps on the internet. We all have our hobbies, leave me alone.)

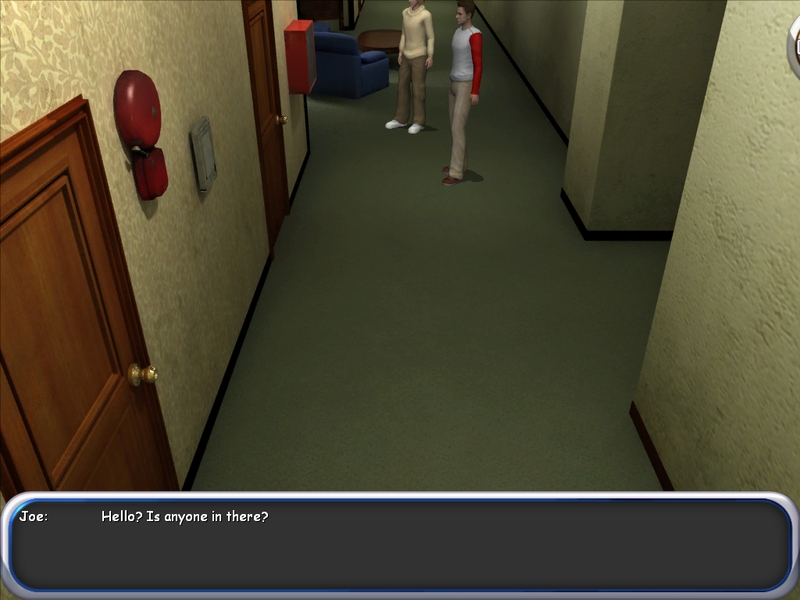
The first person we meet in the hospital is the security guard (“Victor”), who makes small talk about how he’s meant to be standing outside the hospital, but it’s too cold and he doesn’t have his usual cup of hot chocolate to warm him up. We’ll come back to this in a minute.
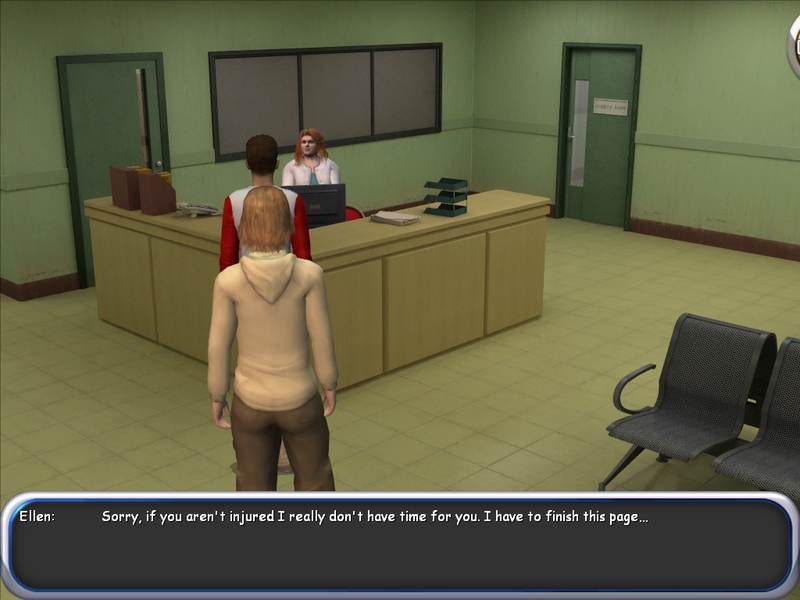
Next, we approach the front desk. The weirdly-Southern receptionist is like, “I hope you’re not trying to bother me about seeing a doctor or visiting a dying relative or anything like that.” She tells us that we can’t see Richard Llewellyn unless we’re family, but also we can’t see him even if we were family, but if we were family, she could tell us that his condition is critical. Nice. Also she and Victor the security guard are banging and Victor likes to beat up any man who looks at her the wrong way. Please stop telling me things about your personal life, ma’am.
Anyway, the receptionist is in the midst of a very important puzzle book; she wants to solve it to show the asshole doctors that she’s just as smart as they are. Of course, she’s going to prove this by…making the Hardys solve the puzzle for her. Sure.
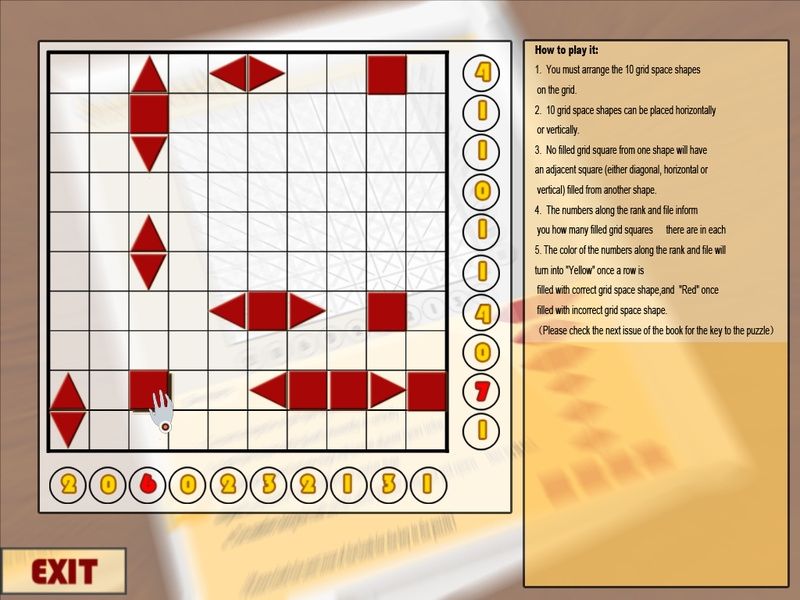
So we solve the puzzle, which oddly doesn’t have enough instructions to solve it just from the text; we also have to rely on the numbers along the sides, which will turn yellow if we place a shape in the right row or column, and red if we don’t. I fail to see how this is supposed to work in a paper book.
Anyway, after we solve the puzzle, the receptionist will be like, “Wow, puzzles are hard! I think I deserve a break!” and start watching the TV, so we can waltz right past her. The door to the right of the desk is the one we want to go through; there’s a supply closet in there in which we can steal some folded sheets and doctors’ coats.

Also, it occurs to me that I have not really been making good on my resolution to just call everyone constantly to find out what’s going on. Let’s fix that now, in this supply closet! What’s up, Chet!
Frank is the one that calls; we patiently wait through Chet’s gushing over his new haircut (“Before, it looked like they plopped a cereal bowl over my head and snipped away. But now…” “Soup bowl?” Frank suggests. Heh) before asking to speak to Iola. She’s not there, and Chet needles us over wanting to speak to her, before telling us that he’s gonna go try on all his “overalls” to see which one goes best with his new haircut. Hee. Well, that was pointless, but slightly amusing. I wonder if I would’ve gotten a different conversation if I’d switched to single-player mode and had Joe call, actually, since he’s canonically Iola’s love interest — but the game doesn’t treat her that way, so probably not.
Anyway. If we try to throw on the doctors’ coats and waltz upstairs, both the receptionist and the security guard will stop us, so we have to get them out of the way. Let’s start with the receptionist. Now that she’s done with the puzzle book, she’s absorbed in an episode of ER, so let’s use that to our advantage.

We go outside and throw the sheet over the satellite dish(!), which will cut off the receptionist’s TV. Instead of being like, “Huh, I guess I should go back to doing actual work,” the receptionist will go over to fix it and leave half the coast clear.

Now for the pesky security guard. You’ll recall that he usually only guards the outside of the building, but since he doesn’t have a cup of hot chocolate to warm him, he’s hanging around inside where the central heating is. Thus, we must get him some hot chocolate and he’ll go back outside. There’s a vending machine from which we can purchase a bar of chocolate, and a water heater where we can get a cup of hot water, and we combine them to make hot chocolate. Faintly Hershey-flavored hot water with half-melted chocolate lumps floating in it sounds absolutely disgusting, but whatever, it works for the security guard and we get rid of him.
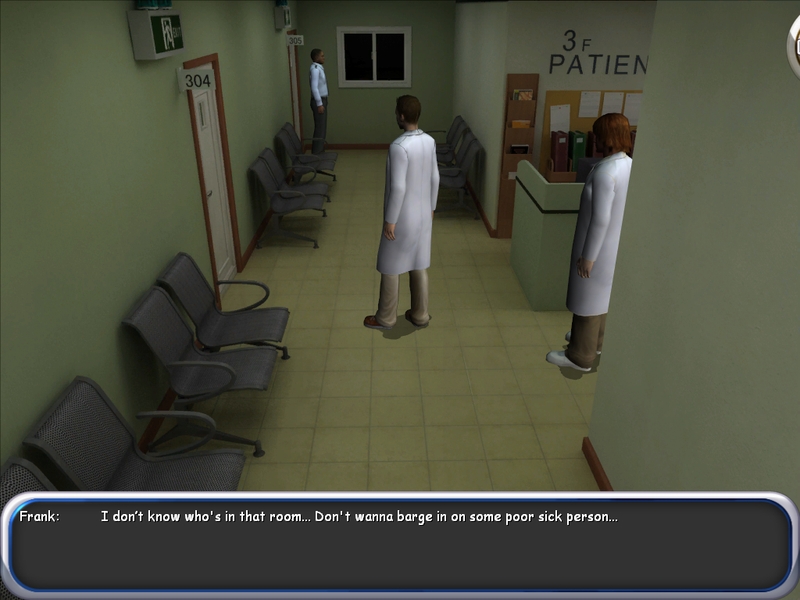
Our way is now clear to go back to the elevators and go up to Richard Llewellyn’s floor. Once we get there, though, we see a cop is standing guard at his door. The cop tells us that only “Dr. Casper” is allowed to see the patient. Alright, how to steal Dr. Casper’s identity?
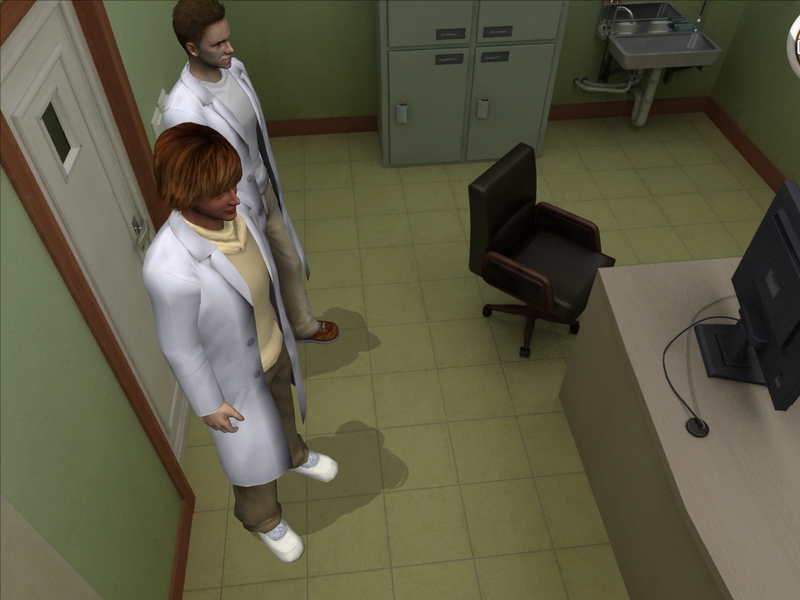
We can poke around the doors until we find the one that leads to the doctors’ office (the game won’t let you enter any of the other rooms). Inside, we find Dr. Casper’s computer and locker. The locker is locked, which is fine — for once, we don’t actually need to look inside, we just want to look at the label and note that Dr. Casper’s first name is Edward. Then, we look at a photo of his son on his desk, which has “Bobby” written on it. Thus, when we go to his computer, we can enter his name as “edwardcasper” and the password as “bobby” to unlock it. It’s a good thing Dr. Casper doesn’t have a spouse or any other family members who might be part of his password! Ah, well. Perhaps Bobby is a child of divorce. I feel you, buddy.

On the computer, we can look through Dr. Casper’s files and find a couple of items of interest. The first one is a list of call codes, which we can use to lure the guard and doctor away from Richard Llewellyn’s room (you know, hypothetically, if such a thing should be necessary). The other is a memo about the accident that sent Richard to the hospital. Per the note, the car hit him at about 8:20 PM.

Alright, so: there is a room at the end of the hallway (#310) with a puddle in front of it, and traffic cones around it to warn people to be careful. So we want to remove the traffic cones, then use the phone in the hallway to dial the code to call for security with the room number (116310). This will summon the guard to room 310, where he promptly slips on the water puddle. We’re not real doctors, so fuck the Hippocratic oath! “Why would someone do that? I just don’t understand,” the security guard mumbles as he falls down. He sounds so completely unmoved by falling on his ass. (Also, why is he called “Guard2”? How come Victor gets a name and this guy doesn’t?)

Sup, Dick! “You don’t look so good,” Joe observes. Yeah, let’s not open with, “How are you?” or “I’m sorry you got hit by a car” or anything. Richard tells us that he is indeed the thief and was indeed staying in the nurses’ station, casing the grounds and waiting for an opportunity to break in. Not creepy at all! We ask what he did with the bonds, and he just vagues that we still don’t understand what exactly we’ve gotten ourselves into, and the “treasure” is still in the house. Frank and Joe are like, “Can you just talk straight for like five minutes, this game isn’t good enough to keep the player intrigued with all this convoluted bullshit.”
Anyway, he asks us to get him a glass of water, as he’s going to be talking for a while. The game kind of fades out and then back in, then we come back and Richard is totally unconscious, then he crashes out and dies. Uh…good talk, I guess.

Frank and Joe muse that Richard must be referring to the bonds as “the treasure”, thus, the bonds must still be at Spencer Mansion, so they’ll just find them and then everyone will be happy. Except Richard and Dougal, whom we briefly pass coming out of the hospital, but eh, we didn’t know them that well anyway.
Up next: the final chapter, What Goes Around, Comes Around! Not the Justin Timberlake song — although it’s 2008, so maybe it is, actually.


Leave a Reply