Previously on Nancy Drew: Legend of the Crystal Skull: Nancy Drew has arrived in New Orleans to cheer up Ned’s friend, Henry Bolet, as his uncle has just died. I don’t know why Ned thought sending his girlfriend, Nancy “I Just Met You, But Tell Me All About Your Traumatic Past” Drew was going to help Henry get over his last living relative’s death. All seemed well, if slightly creepy, until we found out that Henry’s uncle was in possession of a crystal skull whose owners have all met untimely ends. We’re going to run all over Henry’s house, invade his privacy, and reveal to him that his uncle was brutally murdered. That’ll totally cheer him up!

So we’ve found a secret passageway! I know, you’re shocked.

At the end of the passage is a peephole. It’s pointed at a book on the shelf, called The Eye of the Beholder. HOW MYSTERIOUS. As we walk around, we overhear Henry having a fight with his girlfriend: her name is Summer, apparently, and Henry’s been trying to buy her love. Clearly he doesn’t know that the way to her heart is to make her the Seth Cohen Starter Pack. Maybe if he listened to less Underoath and more Death Cab, this relationship would work out.

Anyway, Henry’s love drama aside, we also find a lock with a spiderweb design on it. MUCH MYSTERIOUS.
We will have to find the key to the spiderweb door later, but first let’s investigate Bruno’s doctor, Dr. Buford. He conveniently hangs out right outside Nancy’s hotel, so we just need Bess to pop on over there and put the screws to him.

I wonder where Dr. Buford is? Do you think he’s the guy that’s been sitting across the street from us this entire time?
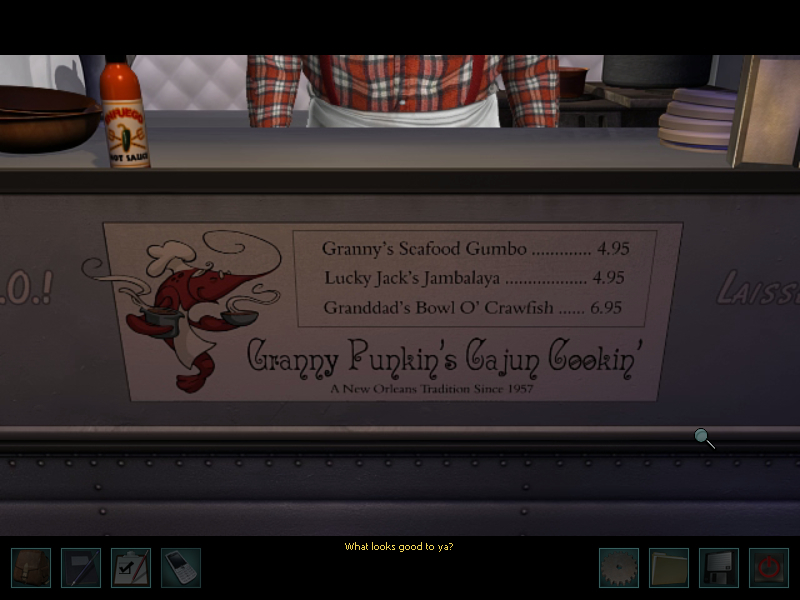
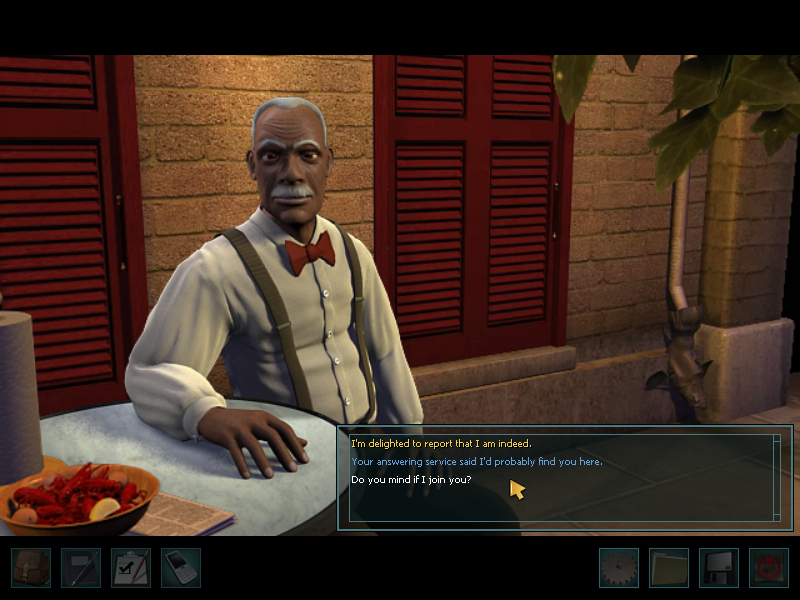
So we have to buy a bowl of gumbo and chat up Dr. Buford. Hey, that shirt looks pretty familiar! You’d think someone who tried to kill us would be in jail for longer than seven games.

So Bess rocks up to chat to Dr. Gilbert Buford. He tells us that he likes to hang out on this street corner — “Delicious gumbo, pleasing view — particularly now, I might add,” he pervs. Gross, dude. Bess asks him about Bruno, and Dr. Buford says that Bruno wasn’t his BFF, but he was Bruno’s, since the guy didn’t have any other friends on account of being so fucking weird. What, no one wanted to come over to his house and put funny outfits on his pet iguana? That’s rude 🙁 Dr. Buford gives us the gory details on Bruno’s death: he had just swung by to pay Bruno a visit, the door was unlocked, and when he went in, Bruno was lying dead in the foyer. “Why would he have a heart attack in the foyer?” Bess wonders. What, are foyers no-heart attack zones or something? She presses for more information: “Can you remember anything that might indicate what he was doing by the front door? Had he just come in for a walk? Was he wearing a hat? Was he holding anything?” HEE! She’s a super sleuth. Dr. Buford recalls that Bruno had dropped an envelope next to him, so he must have been reading a letter. But strangely, he has no idea where the letter is now. TRULY MYSTERIOUS.
Dr. Buford suddenly recalls that Bruno’s iguana (“Iggy”) tends to steal papers, and says that must be where the letter went. He also tells us that Bruno was trying to train Iggy to retrieve the stuff he stole. I wonder if we’ll have to do that later! Bess asks if Bruno ever told Dr. Buford about the crystal skull, and Dr. Buford says he did indeed — but he thinks all the stuff about immortality is nonsense, although it would make “a very attractive paperweight.” Hee. He asks why we want to know about it, and Bess BSes that Nancy heard about it and was curious, and they are in no way actually trying to solve a mystery related to it. “I see,” Dr. Buford deadpans. Bess wonders if Bruno ODed on his meds, but Dr. Buford says that he very clearly died of a heart attack. But, Renée being involved with hoodoo and all, it’s possible she had something to do with it. Not that he thinks hoodoo is real, but he notes that the human mind can be very open to persuasion. Yup, we’ve been there before.

Bess calls Nancy and tells her what she’s learned, so back to Casa Bolet we go. We haven’t talked to Renée in a bit, so let’s do that. She claims to have never heard of the crystal skull. We ask about the day Bruno died, and she says she heard him collapse and ran into the foyer, where she saw Dr. Buford. She’s suspicious of him showing up at the exact moment Bruno died. HMM.
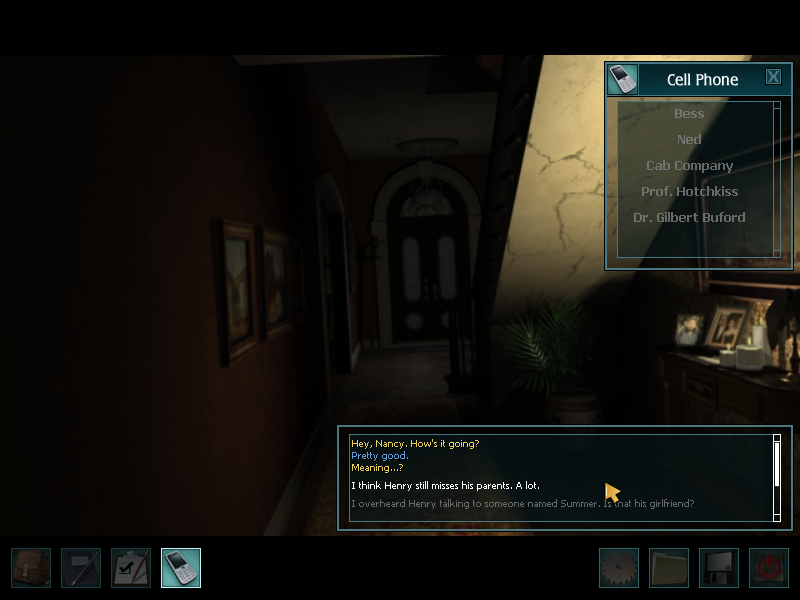
Let’s talk to Ned. I’m going to make a conscious decision to not ignore him as much as I used to. Again, I think this game was the point that I realized the best way to solve all the side mysteries/gather all the information was to just talk to everyone constantly about everything. We tell Ned about Henry crying in the cemetery, and how deep down he’s all sensitive and sad. “I’m not surprised,” Ned says. “I get the feeling that what Henry looks like on the outside is just the opposite of what he looks like on the inside.” I dunno Ned, I think he matches up pretty well.
We ask if Ned’s ever heard of the crystal skulls, and surprisingly, he has. He doesn’t believe that they have magical powers, but notes that if ~someone~ wanted to make murder look like a heart attack, Dr. Buford would be the most likely. I like how Nancy’s friends actually have some detective skills in this game!

I left this for quite a bit of time, but in order to progress, we have to get into the chest in Renée’s room. Each of the little buttons around the turquoise circle add a bizarro shape to the center, and you have to press them in the right order to get each of the four designs in the corners. It’s completely normal. Who doesn’t have a lock like this?

Inside the chest, we find a book on hoodoo, which helpfully tells us what the symbols on Renée’s wall mean. So putting them together, we get “bah zah loo pah dee moo kah”. Cool.

Now to get into the room at the end of the secret passageway. The fountain in the garden has a spider hole that looks quite similar to the design on the lock. You’ll recall that the lines outside the hole on the lock had dashed lines coming out of them — one line had one dash, one had two, etc. So the idea is to press on these lines in that order. When we’re done, we’ll get the key to the door. To the secret passage!
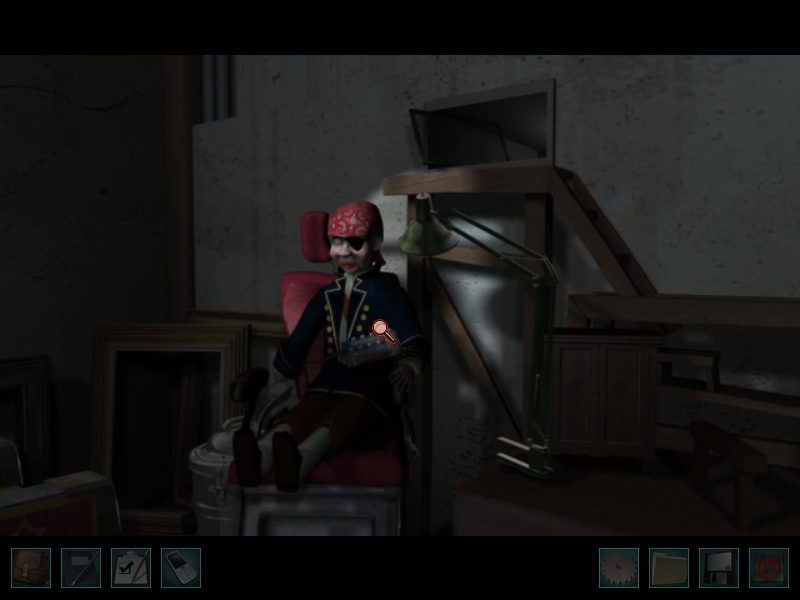
OH. Well, this isn’t creepy at all.

There are a bunch of puzzles to do in the room, so let’s get those out of the way. There’s this weird “Bowling for Glass Eyes” game, where you have to pitch a ball into all the squares twice, until they flip to eyes (they’ll flip to chickens first). When all the pictures are of eyes, we get another glass eye. We also finally find the box the eyes are kept in, so we can keep track of our progress:
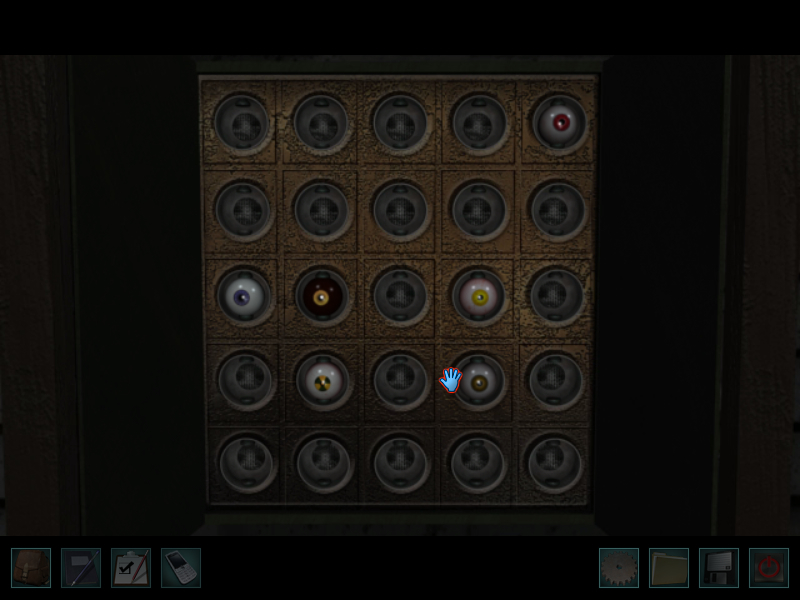
Wait, what the fuck? I only have six? How? I FEEL LIKE I HAVE BEEN GRABBING EYES FOREVER. Sadly for me, I still have nineteen to go.
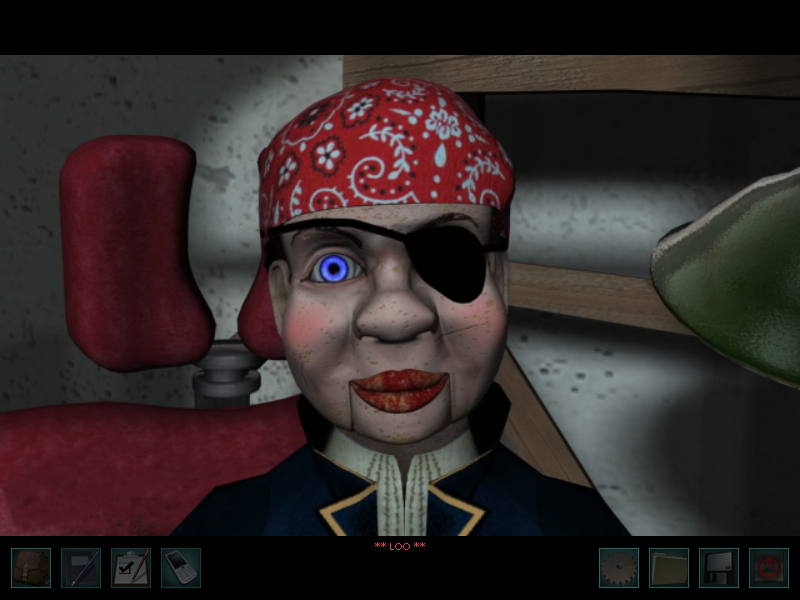
Next up, let’s talk to Creepy McHorror Dummy over here. Under the dummy is a box with the controls to make him talk; conveniently, the syllables he speaks are the same ones as the hoodoo words! So you press in “bah zah loo pah dee moo kah”, and when he’s done saying it, his eye will pop out. We’re 7 for 25! (Send help.)

We can also grab some stuff out of his empty eye socket which also is not creepy at all, in any way. So we take an eye token, as well as a piece of paper about “the last denizen buried on my guard, will start you a-hunting through my graveyard.” Cool beans.

Bruno’s desk is also here in this secret room, and we find a book called “Short Stories for Tired Eyes.” It should really be called, “Literally Everything You Need to Beat This Game.” I dunno. Am I happy that we can pretty much blow through the rest of the game now, or disappointed at how contrived this is? A little bit of both, maybe. The very first story we read is “Time Will Tell,” and we’ll have to solve that puzzle next.
But first, let’s keep going through Bruno’s crap. And he has a lot of crap. We note an open vent above the dummy; Nancy will call for Iggy the iguana but he won’t show up. There’s also a dental chart that we’ll need later, and! And and and!

Well, these dudes certainly look familiar. We find a letter inducting Bruno into the “Jolly Roger Society,” on the recommendation of Dr. Buford. Gasp! They both liked to go to Juggalo gatherings! Most suspicious.
We also find a jack-in-the-box with a spider inside. We’ll need to remember the music the box plays when we crank the handle.

There are two more eyeballs in this room: one on a Newton’s cradle and the other will pop out of the gumball machine when we put the token in. Cool? Cool.
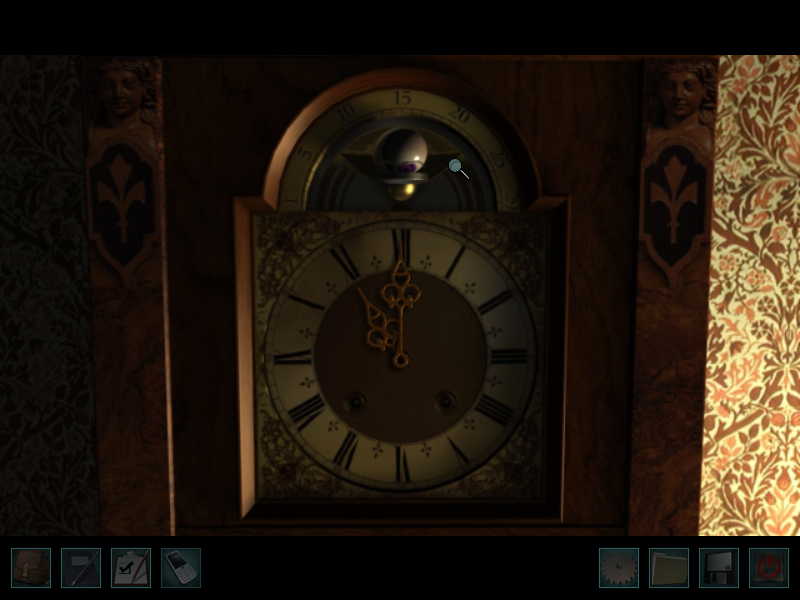
The first story in Short Stories for Tired Eyes is called “Time Will Tell.” Various times of day are mentioned throughout the story, and we’re supposed to set the hands of the clock in the hallway to those times. It’s more like a combination lock than anything else; there are three sets of numbers, and entering them correctly will give us three eyeballs. 12 out of 25!

Our thirteenth eyeball is in that “Eye of the Beholder” book. Okay, so we’re making progress. God, the eyeball-collecting part of this game is tedious.

The next puzzle in Short Stories for Tired Eyes is “A Librarian’s Tale.” The hint page will tell us that we need to go through the library cards and find all the books with “eye” in the title. So we can skip right over fucking Bill Kessler and his stupid fishing book. Then we take the card numbers and add them up to get the number 1540. When we find the book, A Librarian’s Tale, it’s locked with a numerical code. We put in 1540, and get yet another eye. Remember when doing all that work in these game would actually get you clues? Anyway, we’re 14 for 25 now.
Since we’re here in the library, let’s go after the eye on Henry’s keychain. You know, the one that was in a dead guy’s eye, and is also in the possession of his only living relative. I’m sure Henry will be totally willing to give it up.
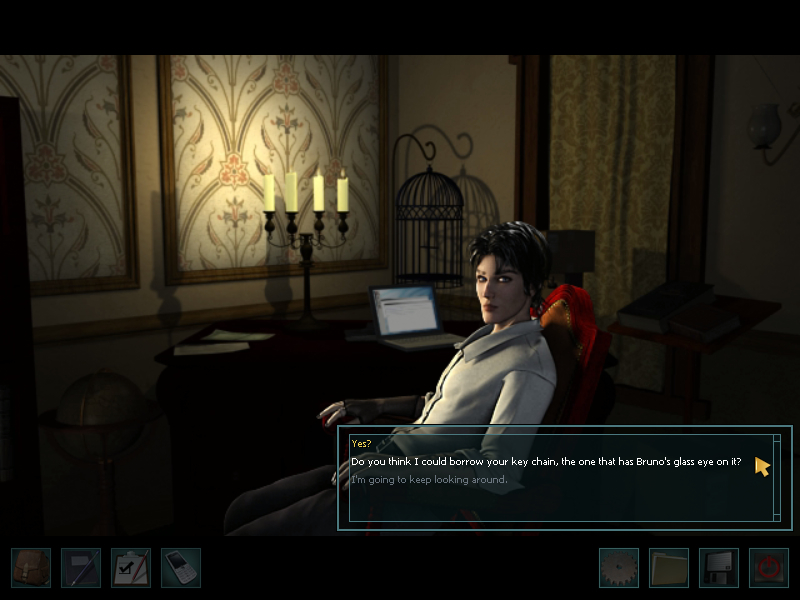
“What if you break it?” he asks. Nancy promises she won’t, but Henry’s like, “People try to kill you every five minutes, so I don’t think I wanna take that chance. Sorry.” Okay, maybe not that first part. Well, if he’s not going to hand it over willingly, it’s time to break out the threats and extortion: we know Henry’s been selling Bruno’s stuff on the DL, even though he’s not supposed to. He needs cash quick because he’s trying to buy Summer’s love. ISN’T HE? Henry breaks down and admits he’ll do anything to keep her happy, because she’s the only girlfriend he’s ever have. “Ever will have, probably.” Aw, Henry, no! There are plenty of girls out there who’ll like you. You just haven’t met them because there are no Hot Topics where you live.
He asks us not to tell Renée, and Nancy says she could forget about it, if Henry’s willing to do something for her. Henry heaves a sigh and hands the glass eye over. I would love for him to go back to school and ask Ned if he knows about his girlfriend shaking people down for their personal possessions within five minutes of meeting them.
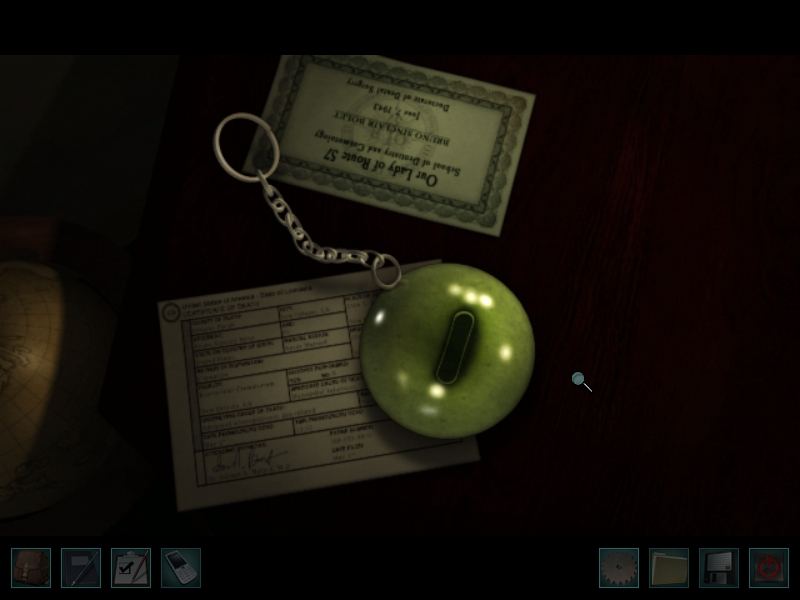
15 out of 25! Alright alright alright.
We also ask if Henry knows about the crystal skull, but he doesn’t. Okay then.

The next set of puzzles has to do with…teeth. Remember all those weird teeth designs on Bruno’s bookshelves? It’s okay, me either.

Oh, boy. Okay. So there was a dental chart in Bruno’s secret room, showing a layout of teeth in a mouth. That chart corresponds to the books on the shelf (each book is a tooth, with the baby teeth on the lower shelf and the adult ones on the top), and you want to click on the books in the order that Bruno lists in his book.
I know. These puzzles get stupider and stupider. And amazingly, this is not even as bad as it gets. It’s sad, because some aspects of this game are pretty cool and creepy — hoodoo, downtown New Orleans, the cemetery — but you spend most of the game doing shit like this. Anyway, once you go through all the books/teeth, you get another eyeball. 16/25.

The next page in the clue book is about digging up bones. Oh, grave robbing? I wish we had been able to do that. Then this game might have been interesting. But no, we have to use Bruno’s special shovel and go running around the various gravesites. Fair enough. The shovel, by the way, has an arm and hand bone for a handle. Totally normal! I’m starting to see why Bruno didn’t have any friends.
Anyway, the shovel is out by where Renée’s gardening. Is she going to let us just take it? Of course not. We have to go dig up some mushrooms for her, and then she’ll let us borrow it. Sigh, okay.

The mushrooms are scattered around various spots in the garden and cemetery. They look sort of like they have an STD.
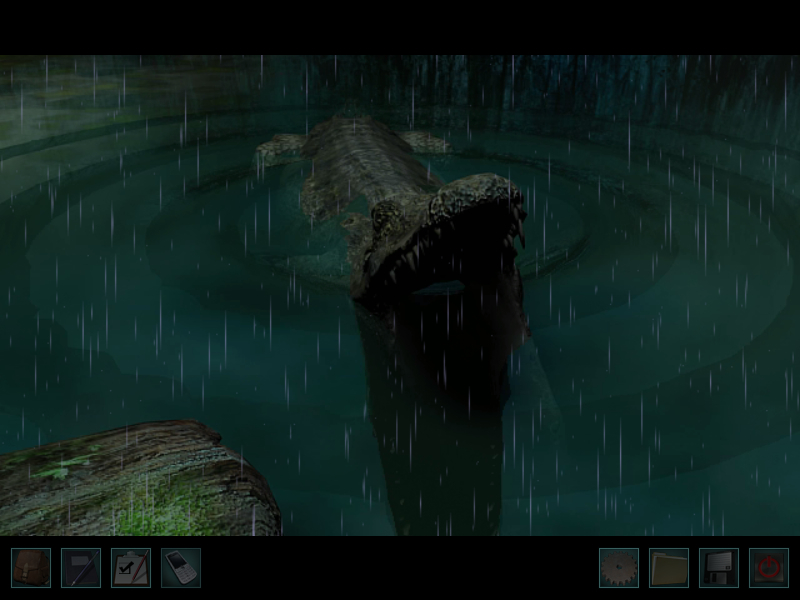
One of the mushrooms is out by a log in the swamp. When we go to grab it, we get attacked by a GIANT FUCKING ALLIGATOR! I guess they realized this part of the game is a little boring. The alligator doesn’t kill Nancy, although it will if you go back and start jumping on the log like a dumbass. When Nancy goes to return the mushrooms to Renée, she’s like, “Oh, whoops, I totally forgot to tell you about Bruno’s pet alligator!”

She forgot, did she? I’M ONTO YOU, RENÉE.
She tells us that Bruno used to summon the alligator (“Bernie”) by kicking the log. We’ll want to know that later.

Anyway, our near-death has earned us the shovel, so let’s go out and rob some corpses!
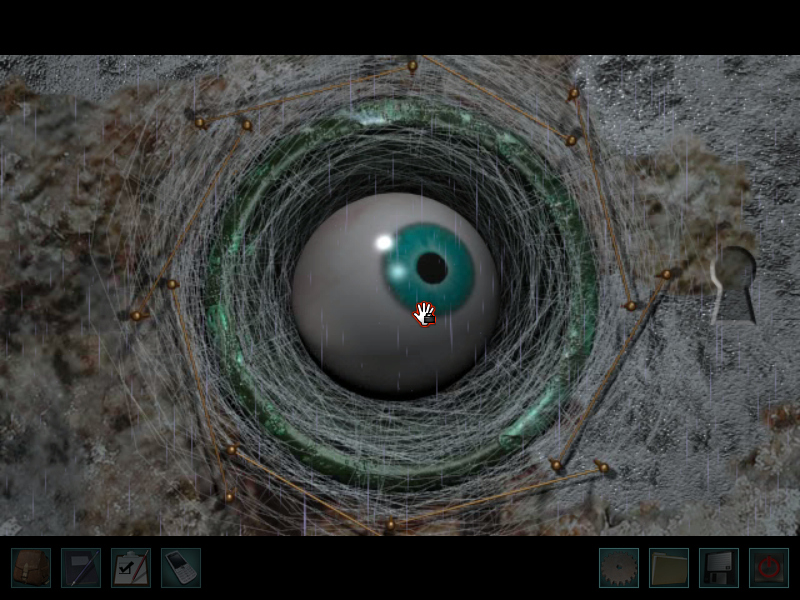
Before we go wandering into the graveyard, let’s get this out of the way, since we’re outside and all. There was a box in Bruno’s room that played music and had a spider inside. The lines around the spiderweb here each play a musical note; ergo, we have to use the lines to pluck out the tune from the spider box. When we do, we get another eye. 17 for 25! Oh God send help.

The clue book tells us to start with “Charlie Wicker.” We find him in the list of graves, and see that he’s buried in Sleeping Meadow.

You’ll note that there are a bunch of letters under Charlie Wicker’s name; we use the coal and paper to make another rubbing and see that they’re directions (W-N-S, west/north/south, and so on). When we enter the plot, the handle of the shovel suddenly…comes to life? Look, I don’t know.
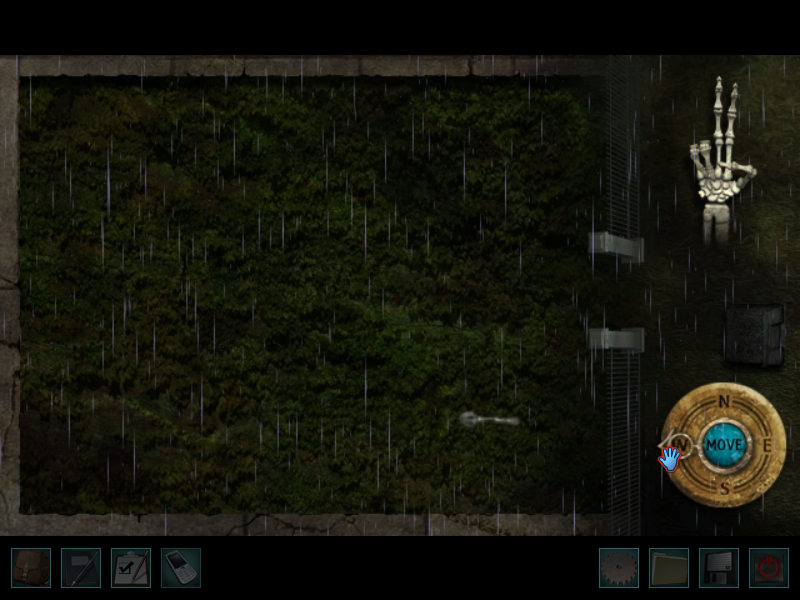
What you’re meant to do is follow the directions we’ve written down, with the skeleton fingers showing how many steps to take in that direction. (So in the picture above, we’re supposed to take 2 steps to the west.) Once we’ve gotten to the end of the directions, we use the shovel on the ground, and get…

Another eye. Wow, I’m glad we went through all this trouble for that. That’s 18 of 25, and we also detach the handle from the shovel and go running around with a skeleton arm for the rest of the game. As you do!

The next bit has to do with the statues in the garden. There’s one “master buzzard” statue surrounded by four smaller ones. You click on the smaller ones to adjust the feathers on the master one. When it matches the drawing in the book, you get a key.

Like so.
I would say it’s the stupidest of all the puzzles, if it weren’t for the iguana dress-up we’re going to have to do later. I think the puzzles in this game are fairly well-integrated (we even get to use the coal and paper twice), except for the teeth and this dumb buzzard one. We barely notice the statues for the entire game except for now, and we don’t have to use them again.
Anyway, now that we have the key, we go around using it on all the smaller buzzard statues, and we get four eyes. 22 of 25! When will this be over.
The next puzzle in Bruno’s book can’t be done until we have all of the eyes, so let’s backtrack to the clue we found in the dummy’s eye. It mentions the “last denizen” buried in the cemetery, so we go into the grave registry and find out that the last person buried here was “Tammy Tassleman.” We’re able to type her name onto the paper with the clue on it, so we can keep track of everyone we’ve found:

So we go to Tammy Tassleman’s grave, where we find another clue. The names are all puns, so you just figure out them out, go to their grave, find the next clue, and so on. Eventually this trail will lead us to “Polly Ester Givens” (“She would have given you the shirt off her back”). At her grave, we find out that our next step cannot be solved by knowledge of puns. Instead, we need the name of Bruno’s dog. I mean, we could always ask Henry, but that would be too easy.
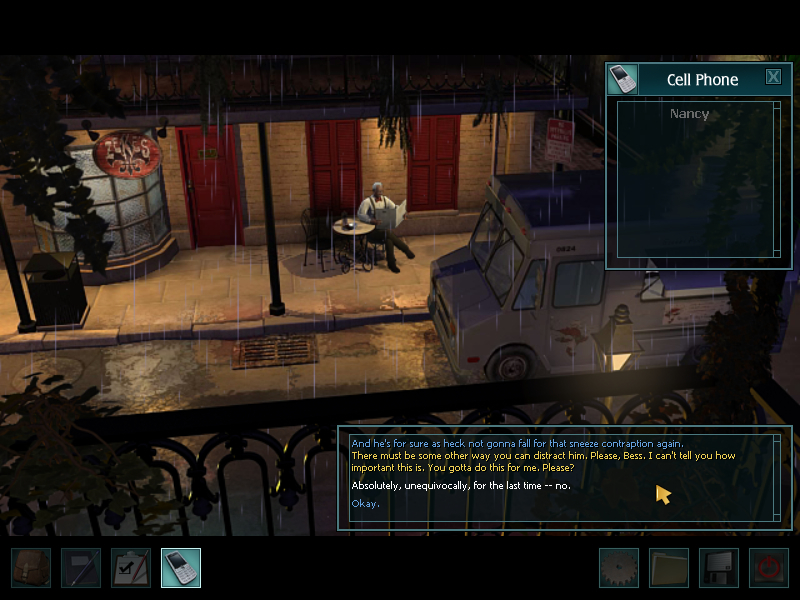
Hey Bess, you said you found a picture of Bruno and his dog, right?

Back to hassling Lamont again. We have to get him out of the way so we can sneak into the back room again, but first, let’s ask about the crystal skulls. Lamont’s heard of them, and would love to be able to sell one, but sadly, he’s never been able to find one. “Funny. I’ve been thinking about those skulls lately. A lot.” Uh…okay, that’s a little creepy. There’s no option to ask him why — I guess because Bess isn’t quite as good a super-sleuth as Nancy Drew. Anyway, we also ask about Dr. Buford, and Lamont tells us that he’s well-known, as he’s hella rich. “Must be nice, huh?”
Finally, we get around to getting rid of him: Bess asks if the gumbo stand outside is any good, and Lamont says it is, but the hot sauce gives him a sore stomach. Well, why don’t we buy him a nice bowl of gumbo, which we totally won’t dump hot sauce in?

Sorry, Lamont. It’s for the greater good (the greater good)!
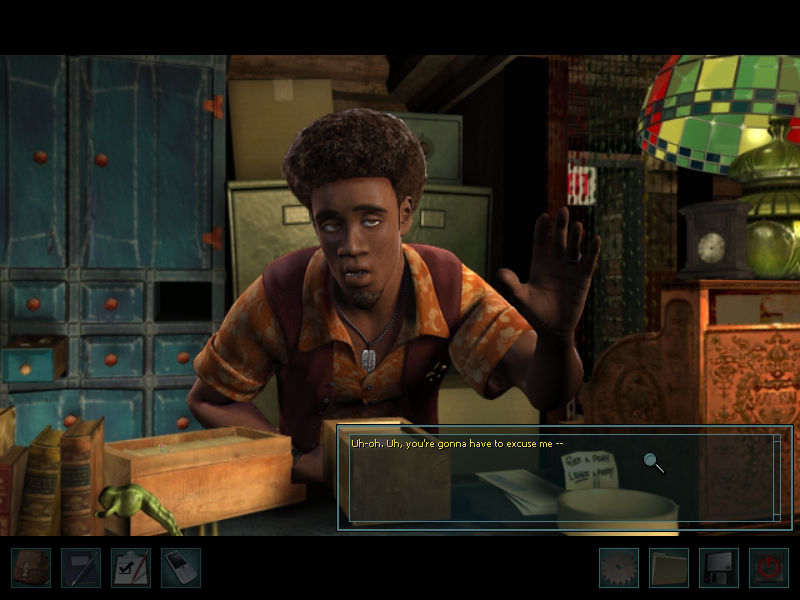
With Lamont out of the way, we sneak back into the back room and find the picture of Bruno and his dog again. The dog’s name was “Grant.”

So we find a Grant buried in the cemetery and go to his grave. We open it up and find an eyeball (23/25), and…a tiny pirate hat. What? Okay, why not.
Up next: We dress up an iguana, and Bess does more sleuthing in five minutes than Nancy does in the entire game.


Leave a Reply